
I love a challenge. Sometimes the challenge is building something. Other times it is climbing something. Sometimes both.
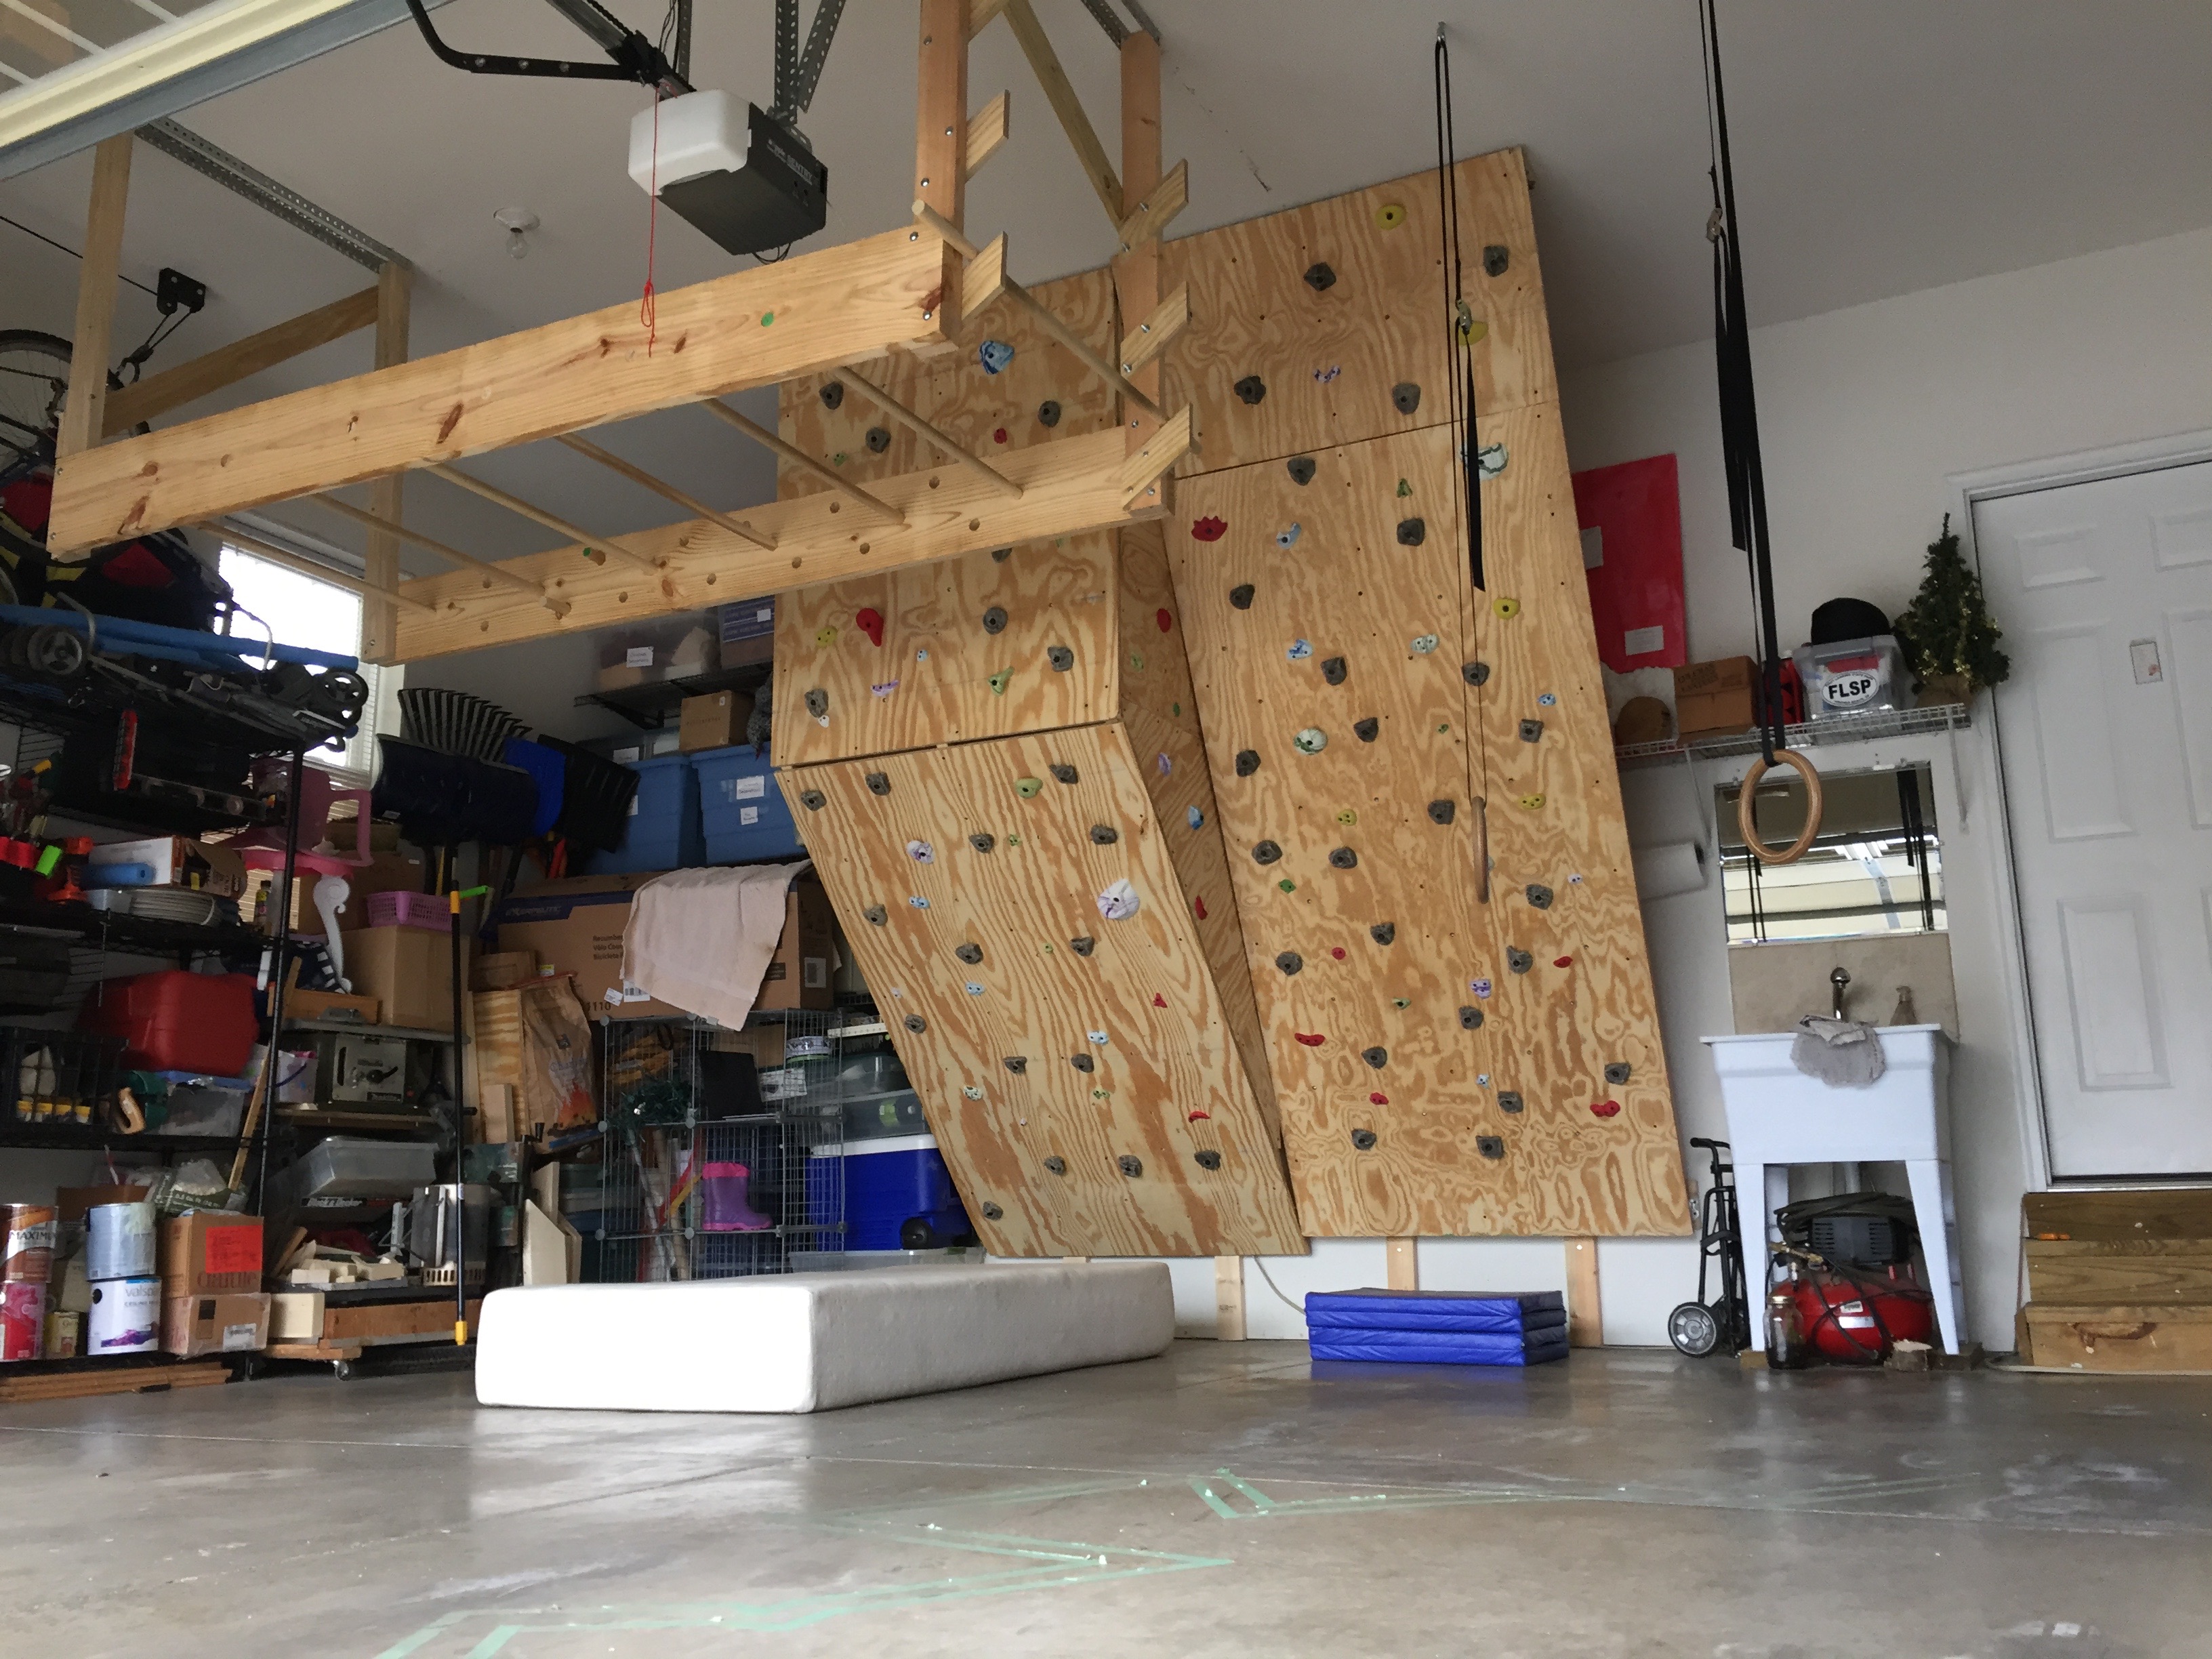
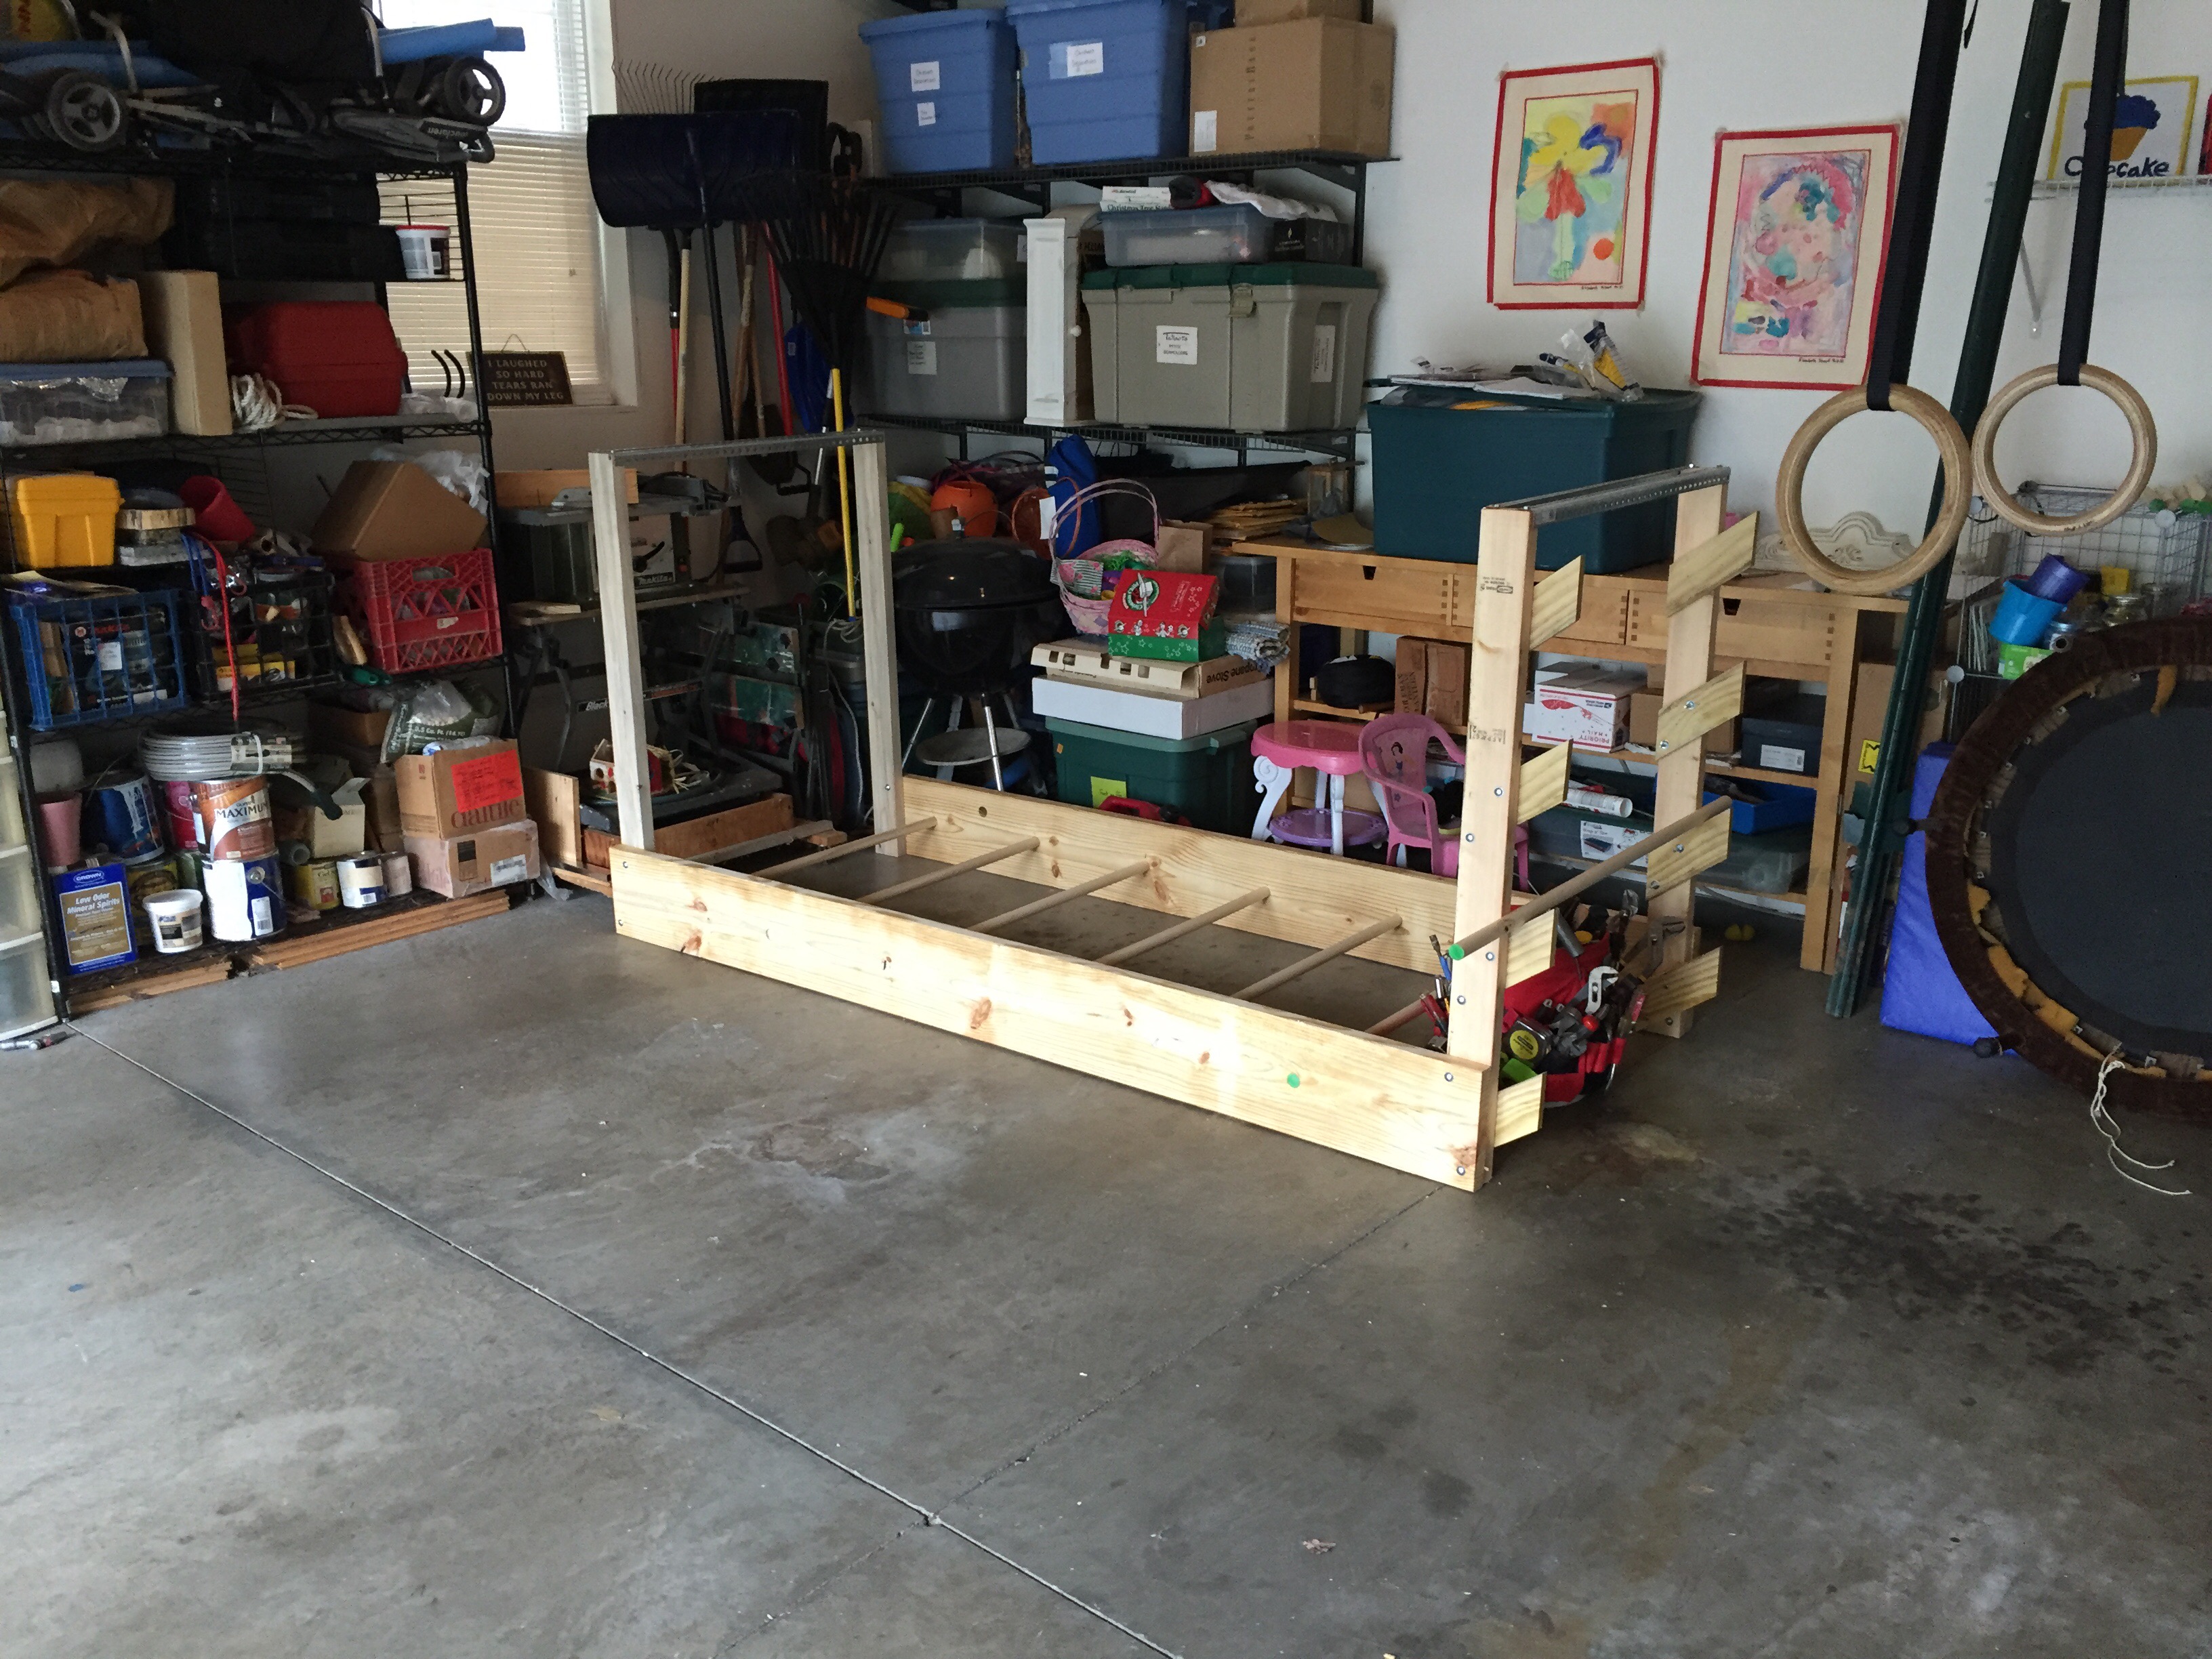
Before building a bouldering wall, I built a little garage climbing frame. It has elements challenging enough for the strong and fit, and easy enough for little kiddos. And, for anyone who cares to try, a short salmon ladder.
Several climbing wall builders also wanted details for the climbing frame. Rather than emailing the same list of materials and instructions to lots of DIYers, I’m going to post it here, in hopes that many of you will enjoy it as we have.
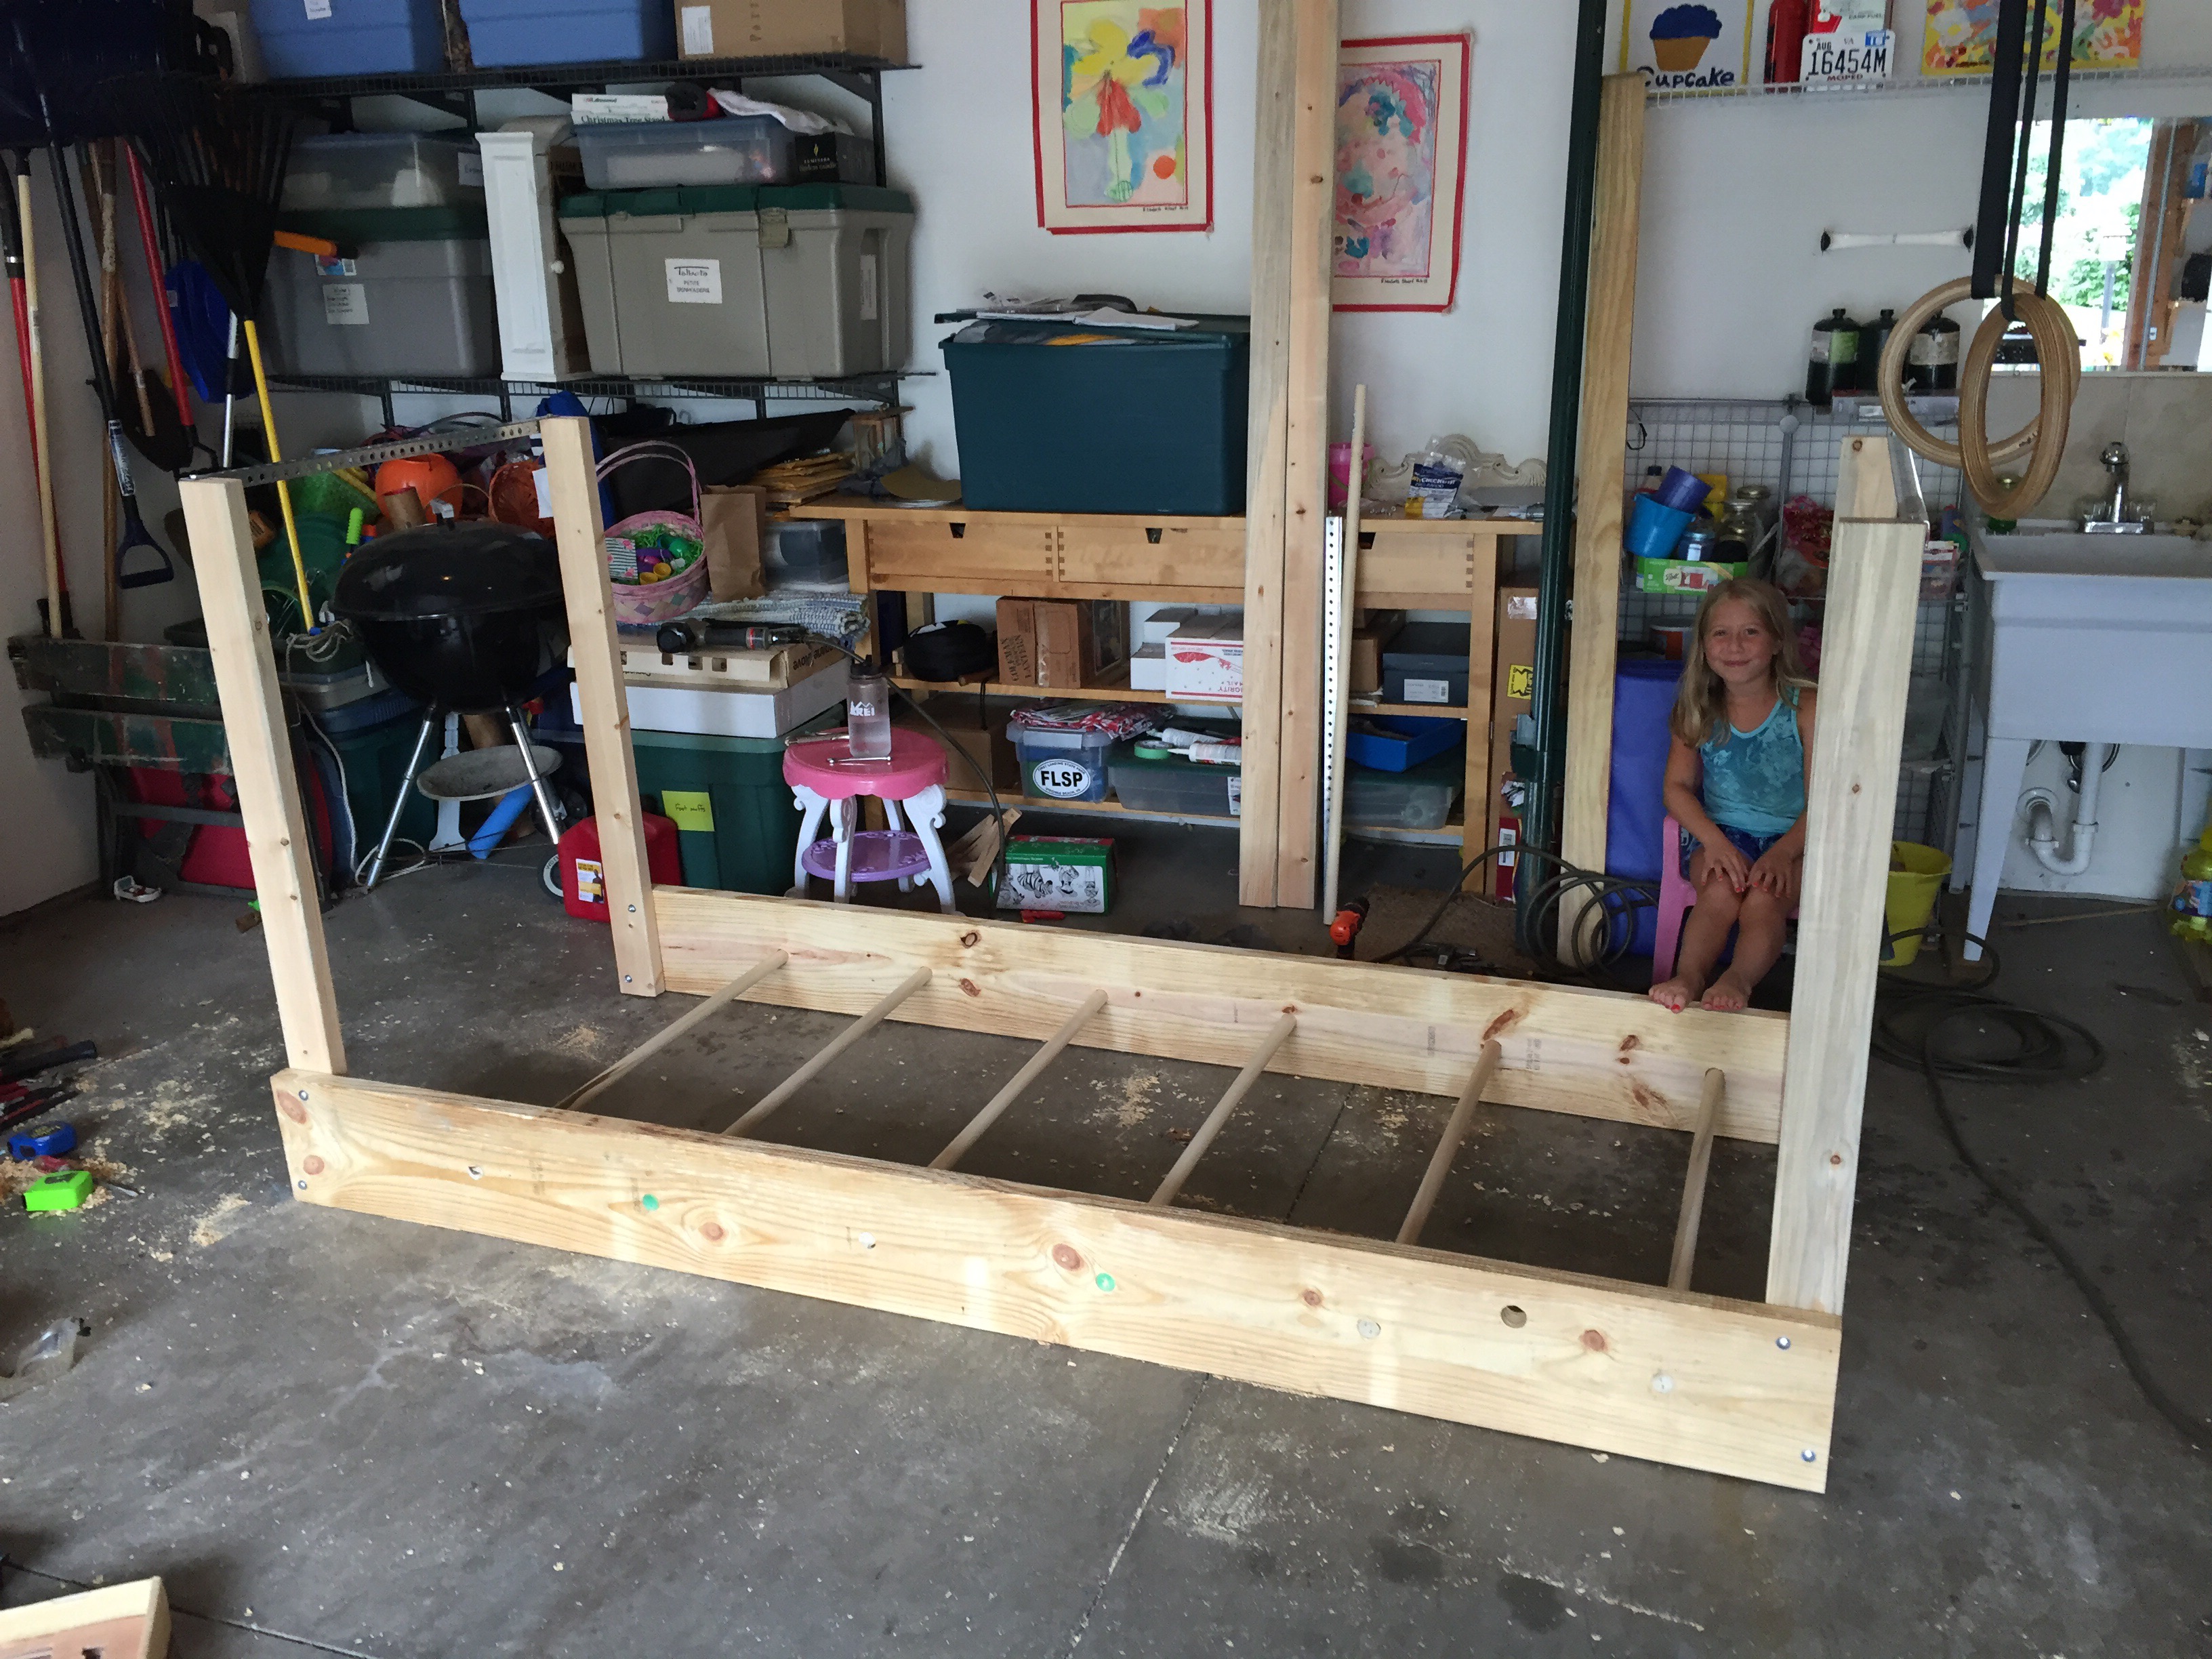
To build the frame, these are the materials I recommend:
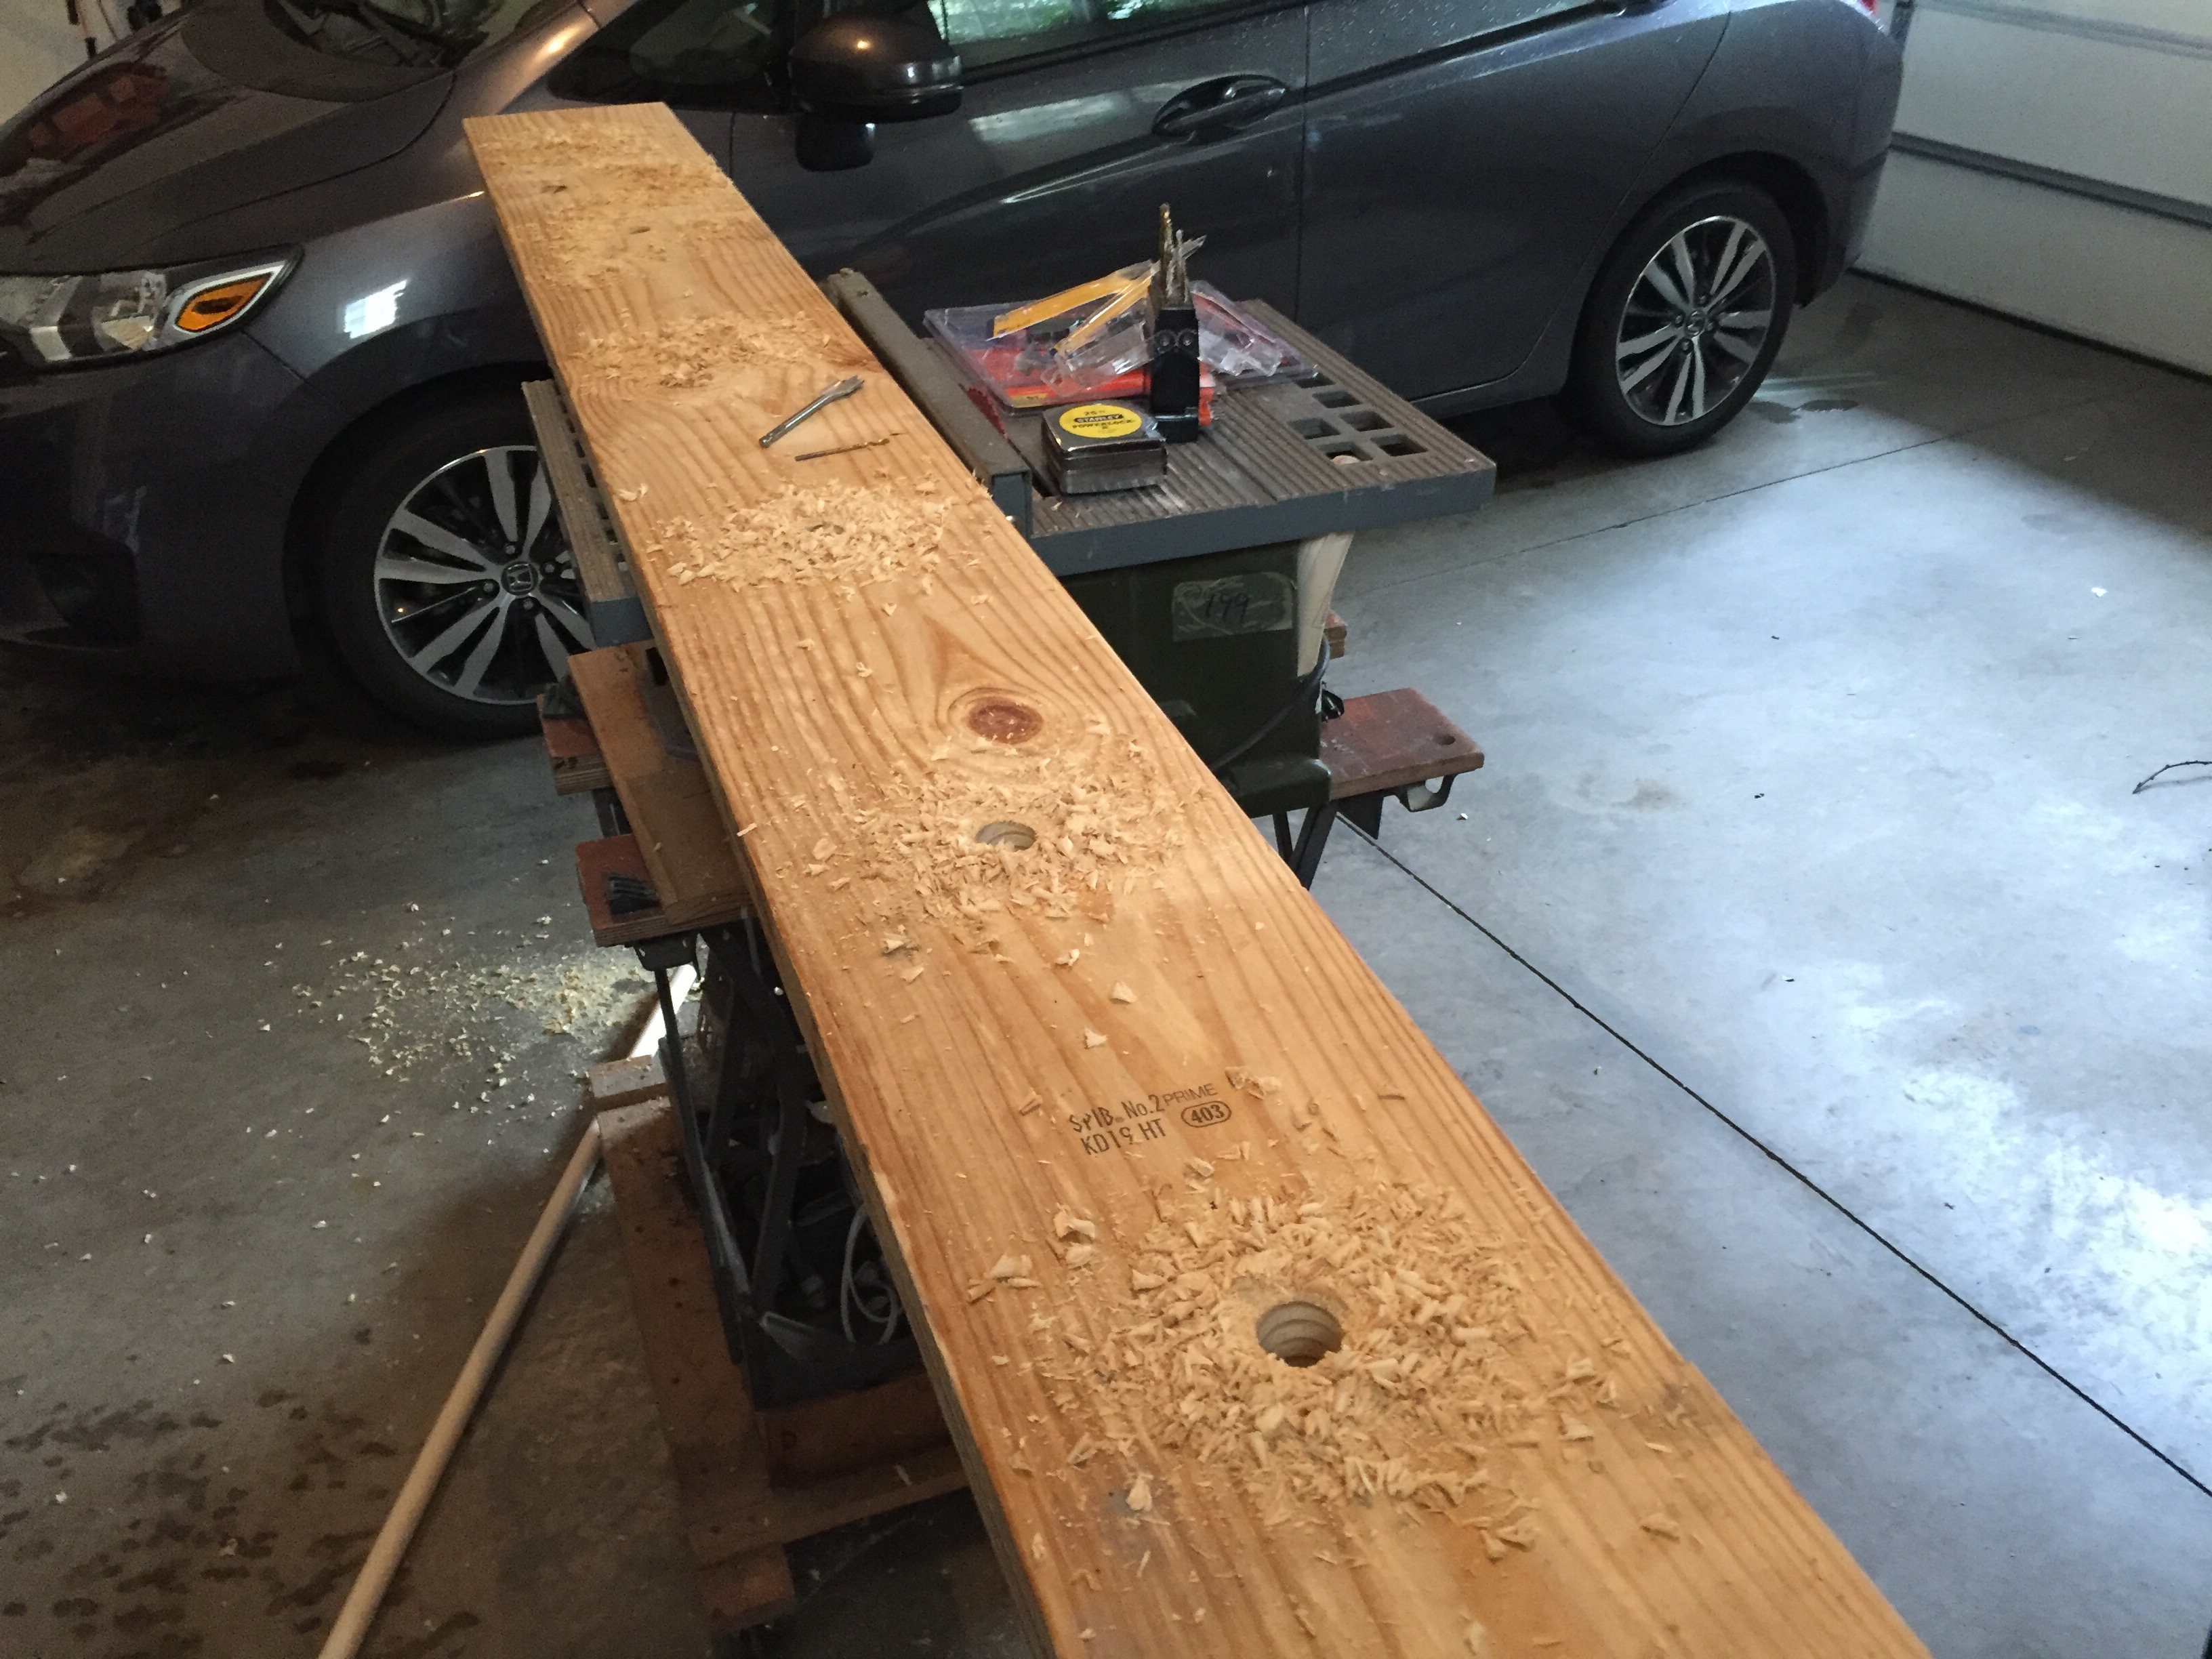
- 2 8-foot 2x10s (horizontals)
- 2 8-foot 2x4s (verticals)
- 2 8-foot 1x4s (salmon ladder rungs and diagonal braces)
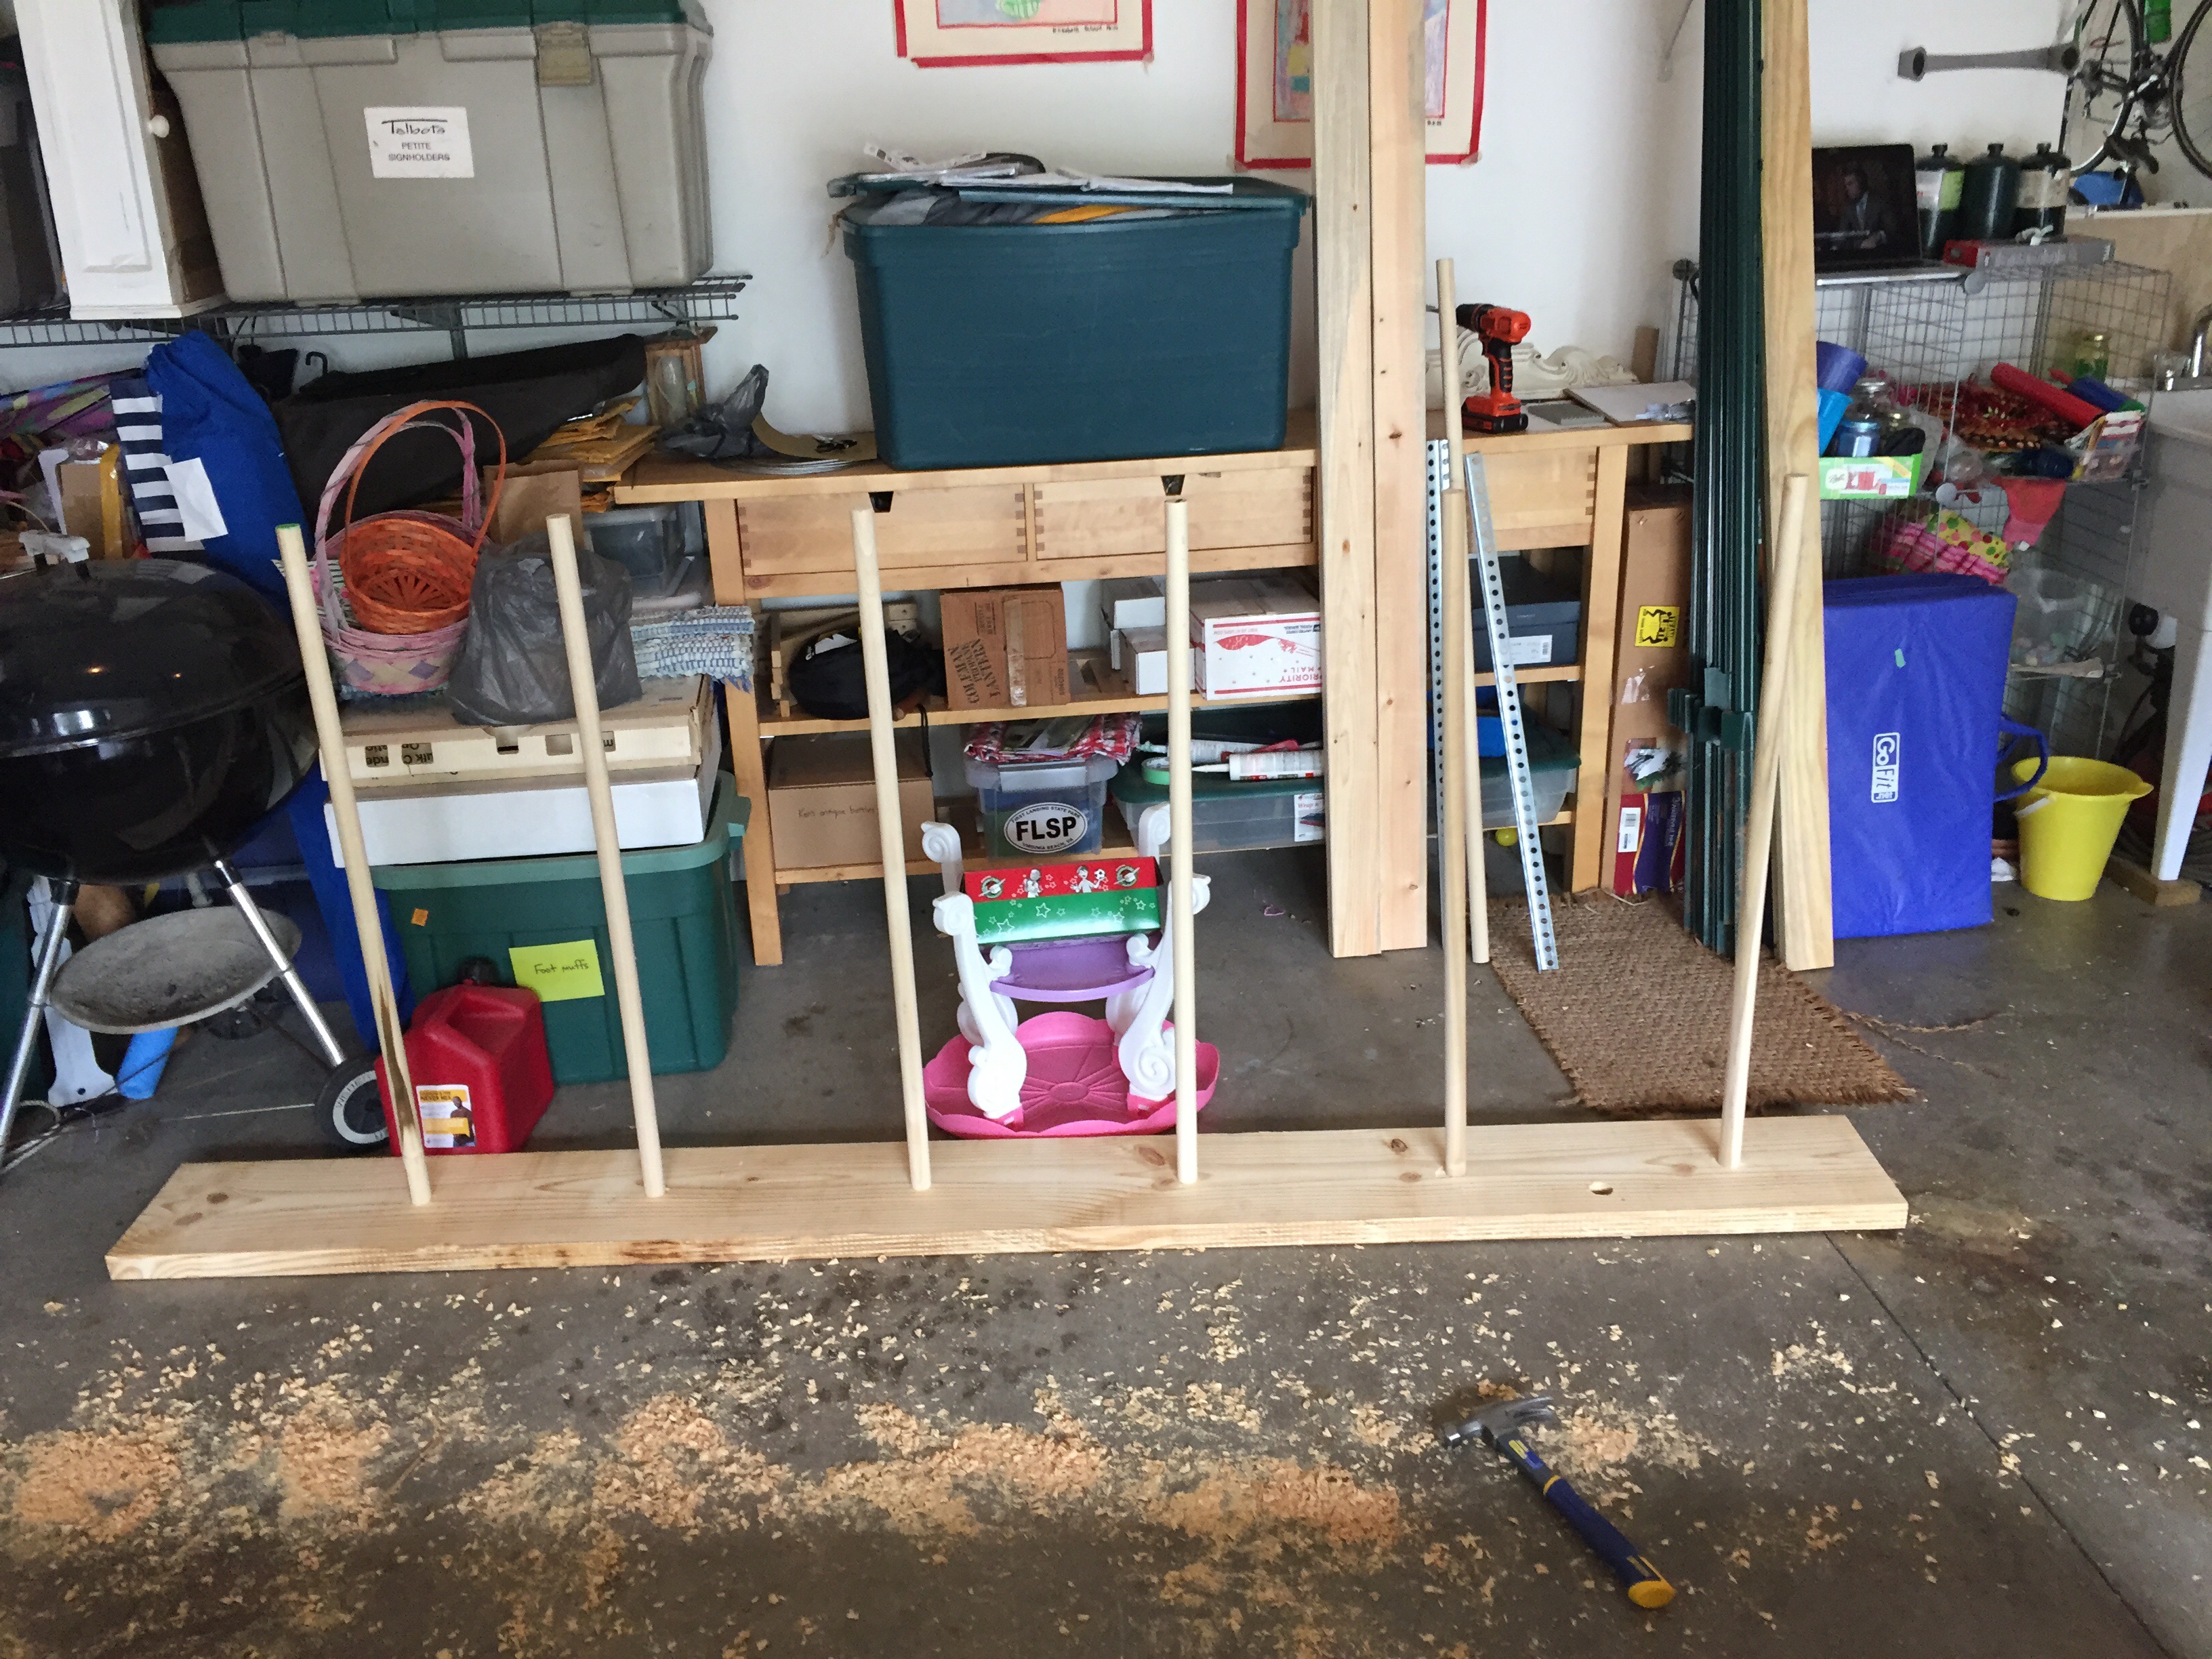
- 7 4-foot 1.5-inch oak dowels (monkey bars and salmon ladder)
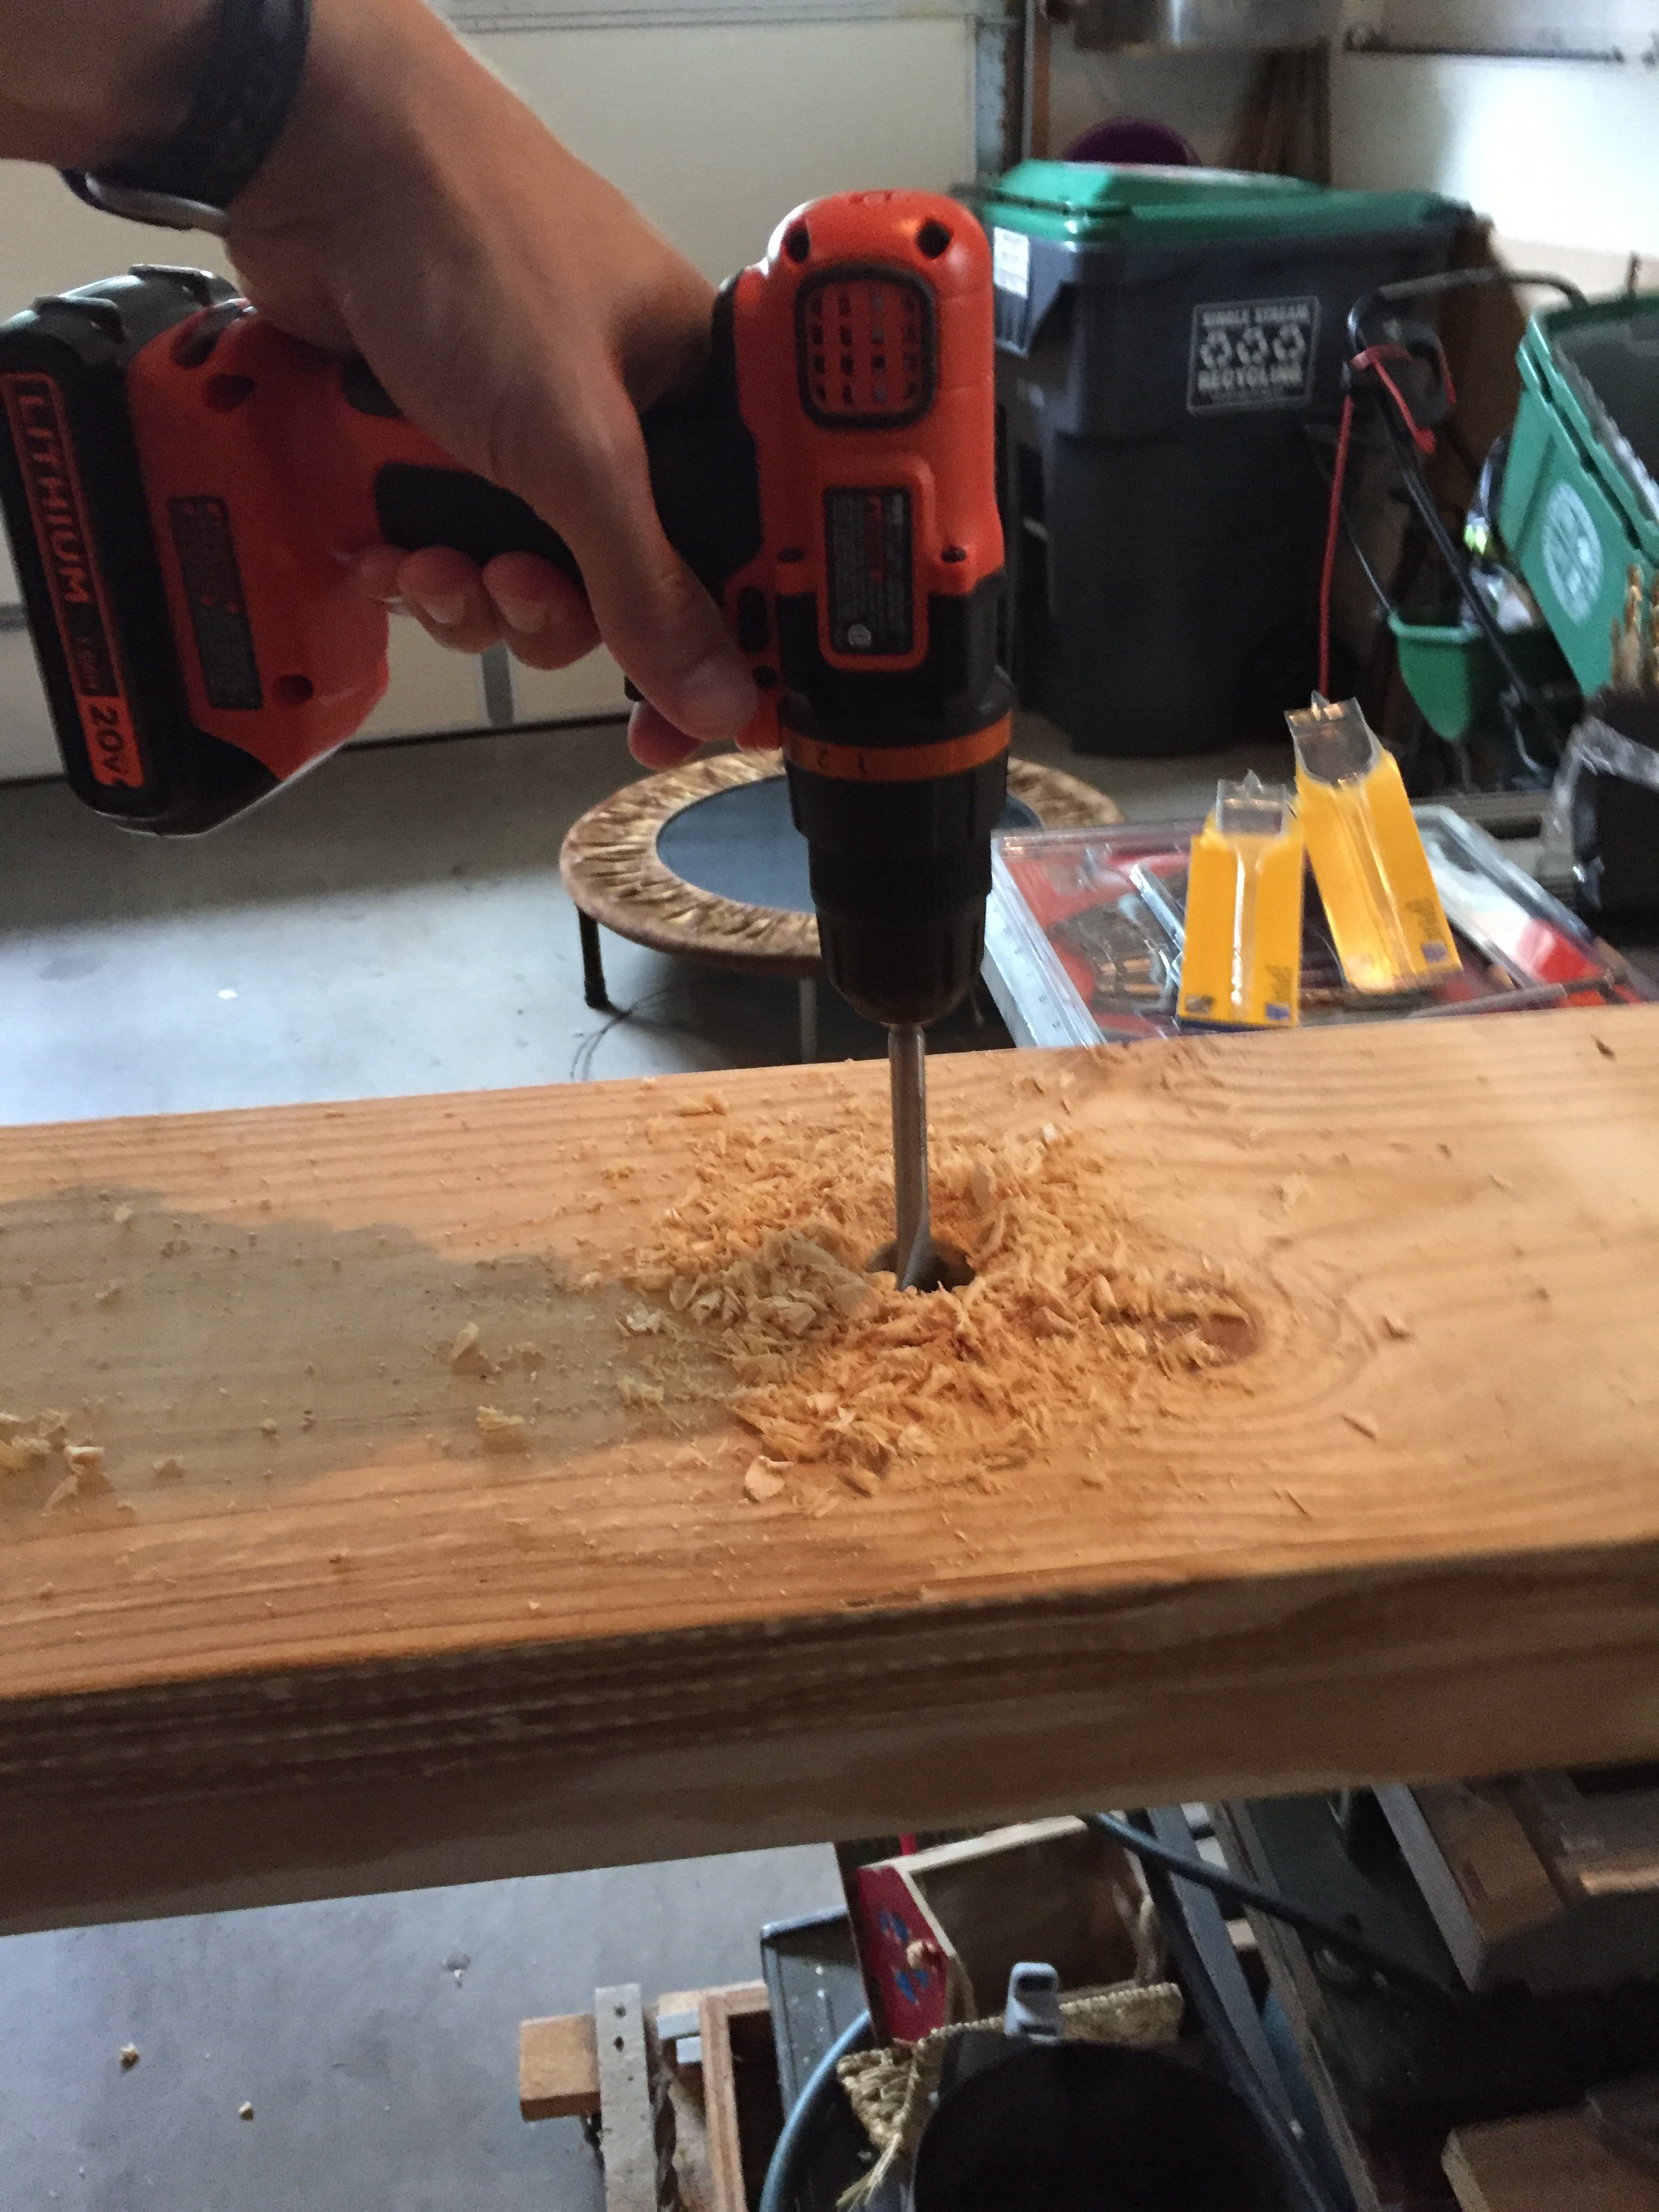
- 1 1.25 inch spade drill bit (for monkey bars and peg holes)
- 8 4 inch carriage bolts (connect verticals and horizontals)
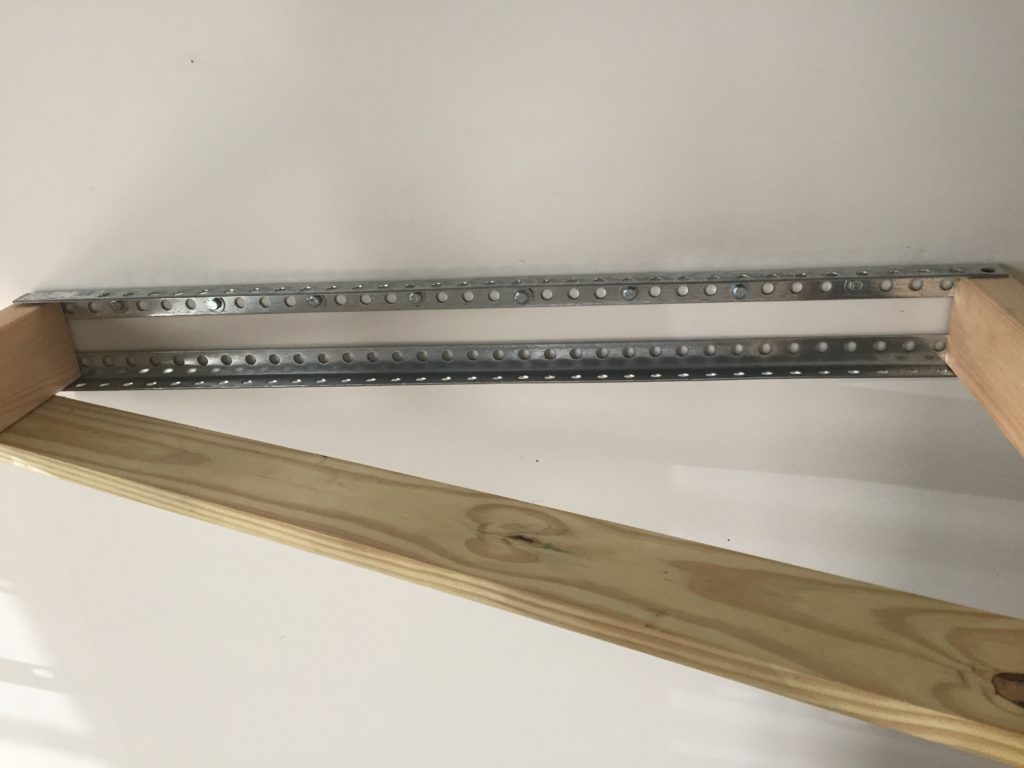
- 12 3 inch carriage bolts (anchor salmon ladder brackets to verticals)
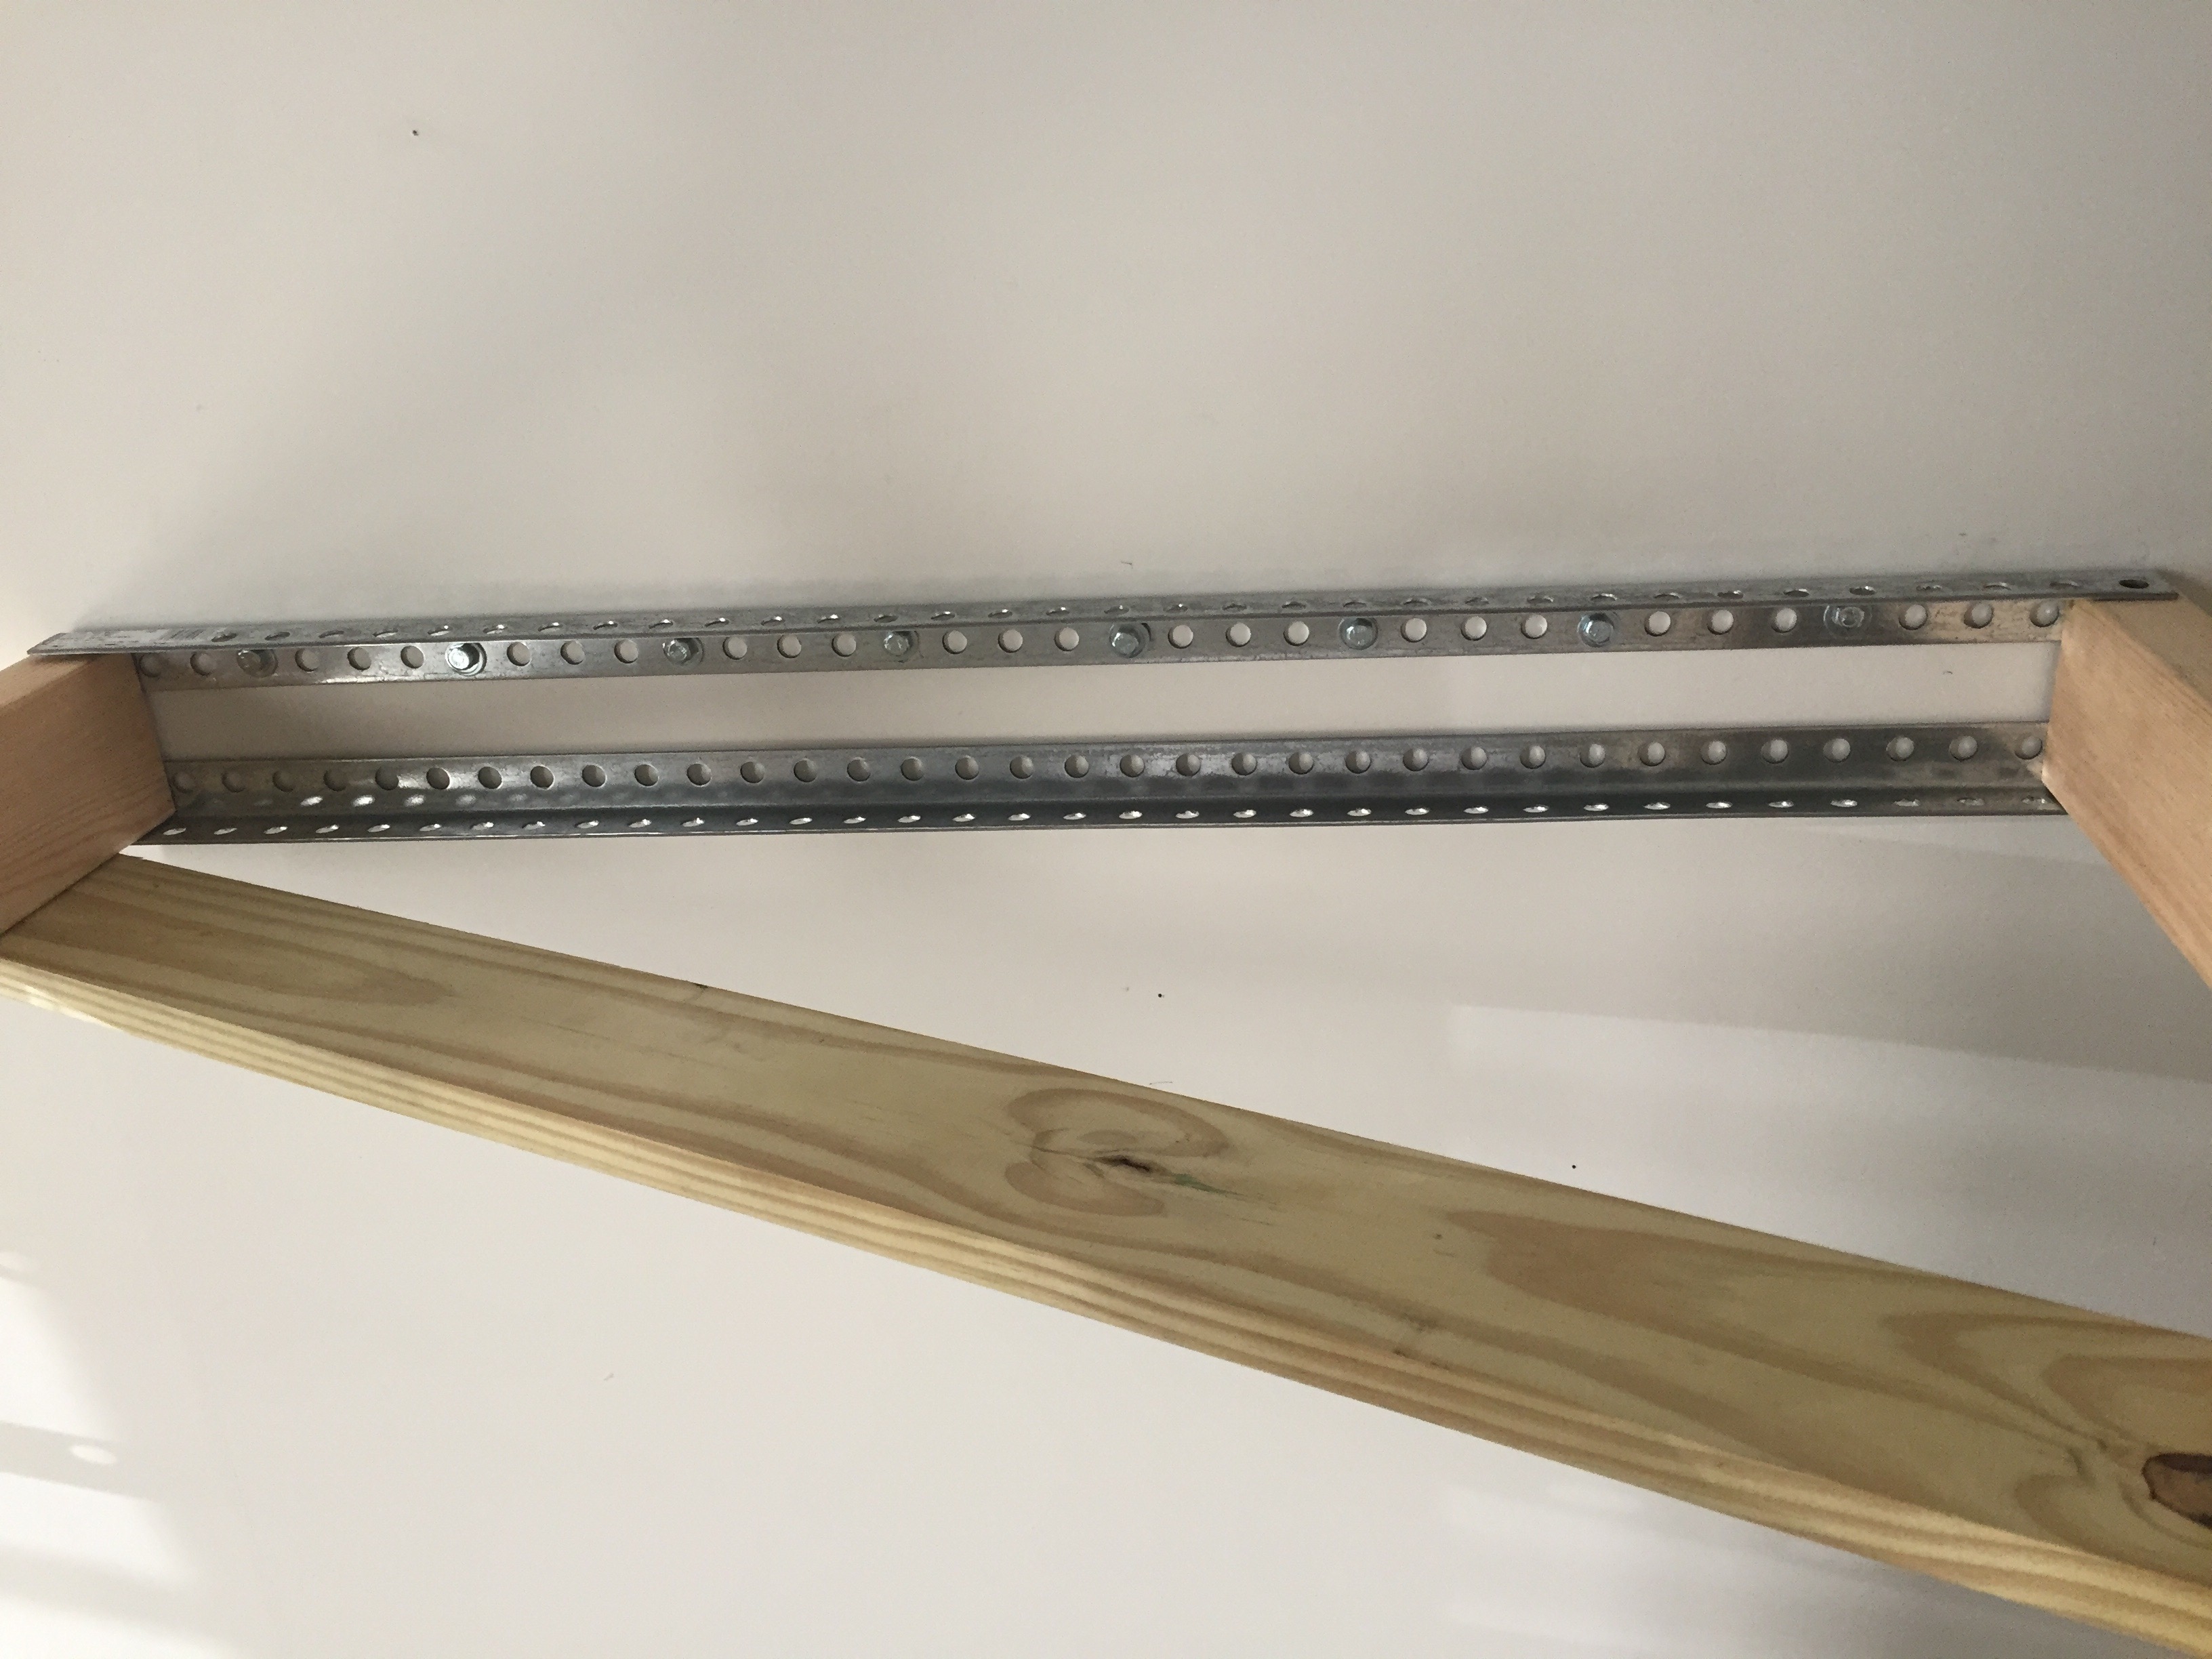
- 4 4-foot steel angle braces (connect verticals to the ceiling)
- Lots of heavy 2.5-inch lag screws (connect angle braces to ceiling)
- A handful of ~2-inch screws (diagonal braces)
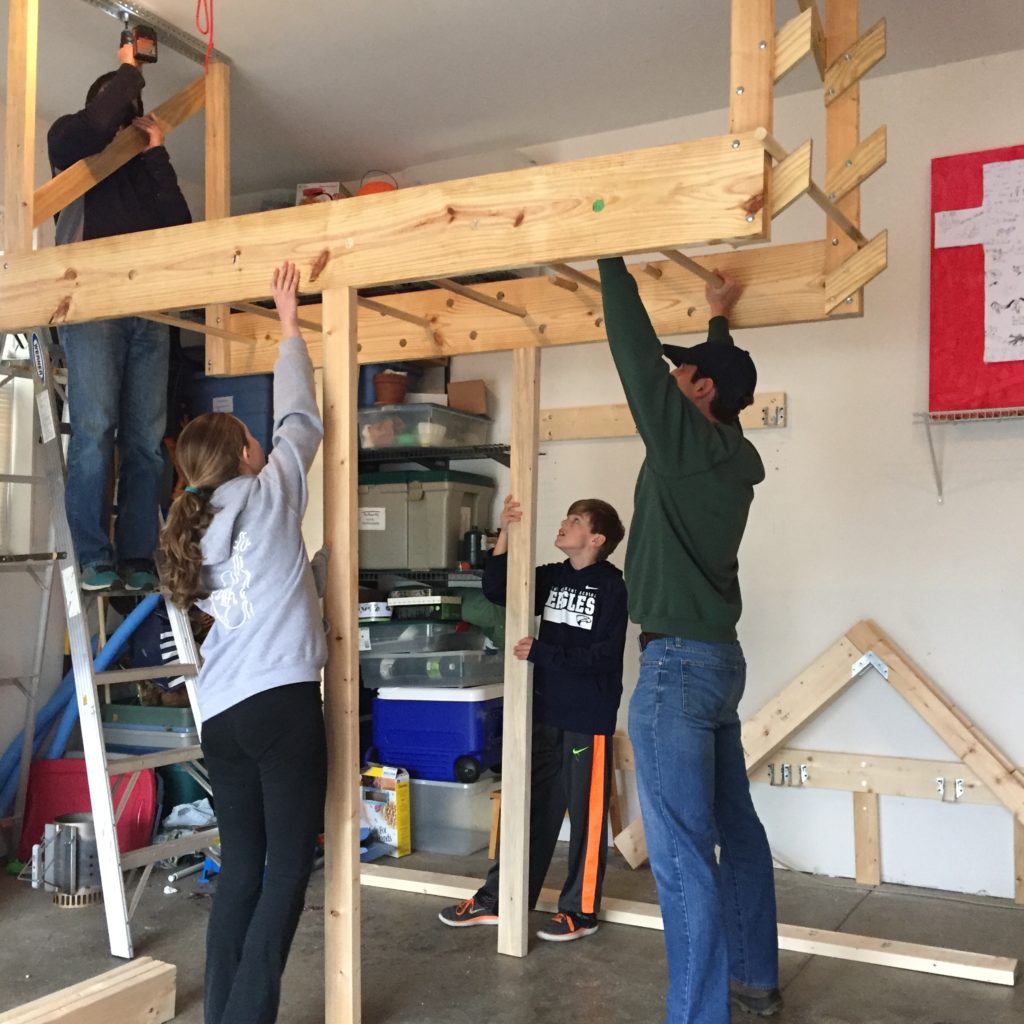
- Identify the joists in the ceiling. Use a reliable stud finder.
- Anchor the angle braces to those joists with lots of long lag screws (I think I used 8 at each end).
- Cut jigs to hold the structure up. We used two 2x4s cut to size to bear the weight of the frame while one person steadied the structure, and another predrilled the holes in the joists and then set the lag screws.

How strong is this? I’ve had a 250+ pound former college lineman hang on it. It didn’t sag or moan.
For rigidity, I added two 4×1 diagonals in opposite directions. I haven’t had any trouble with sway.
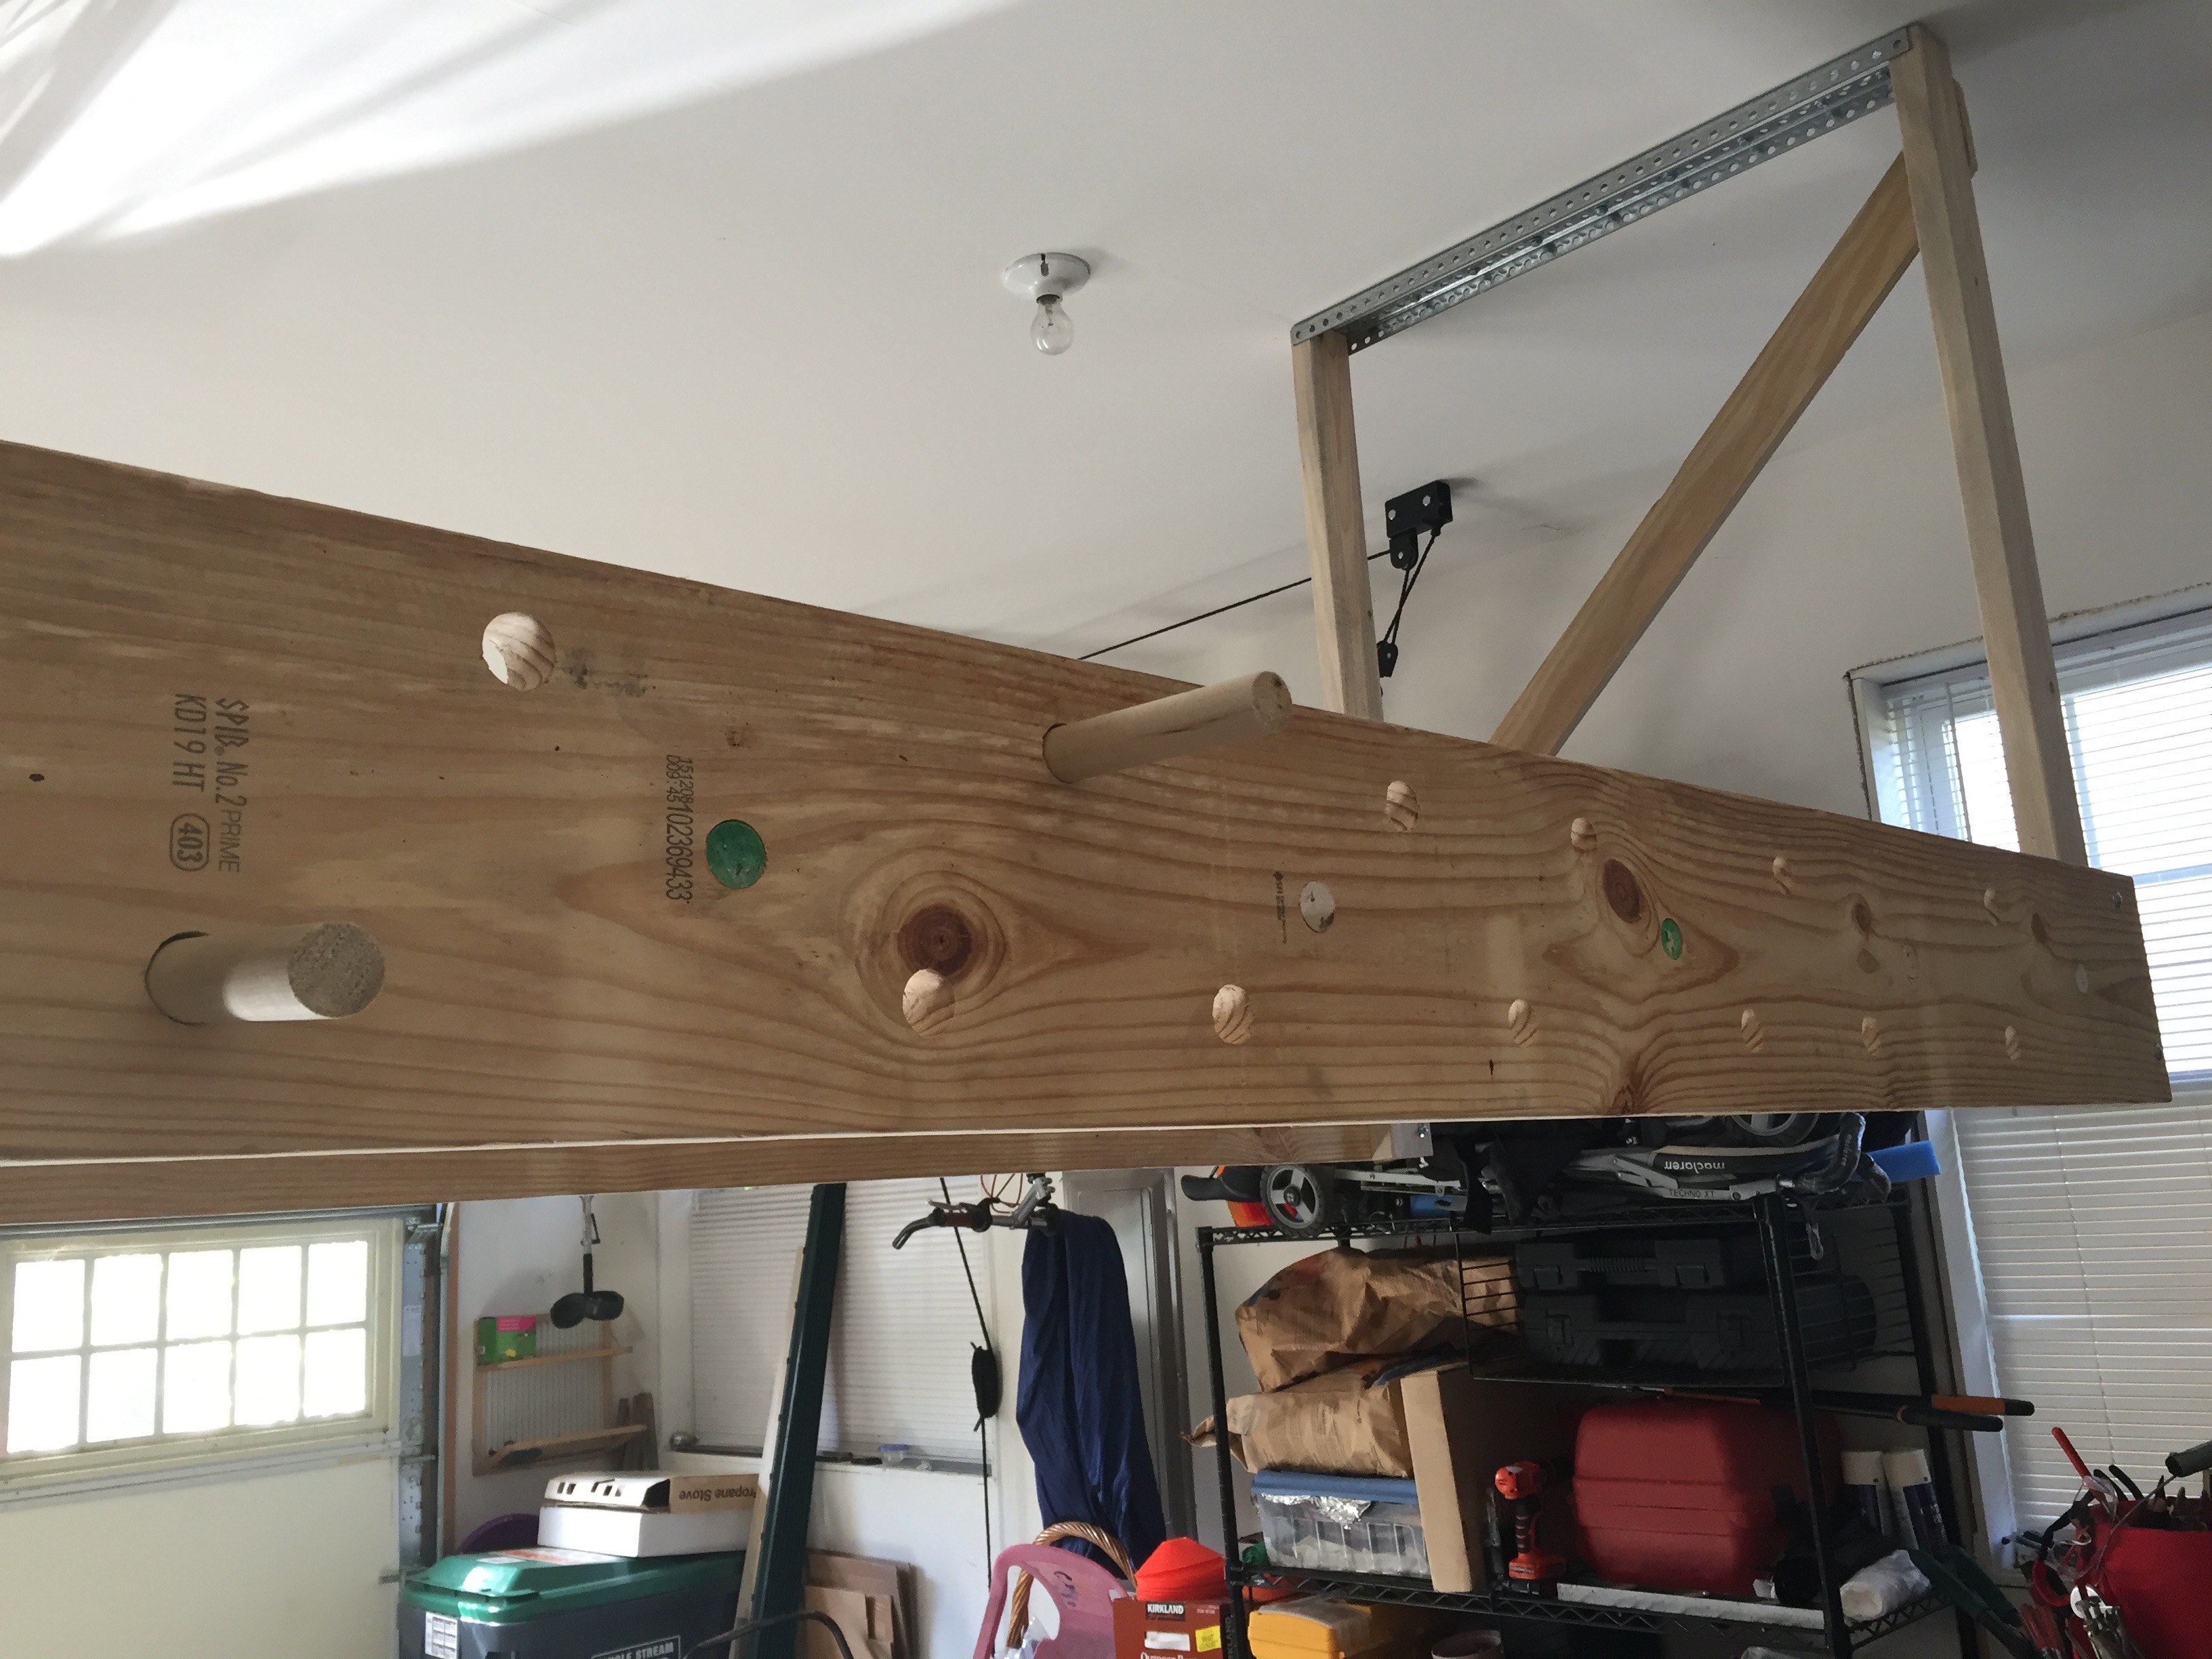
Finally, I drilled some holes on one side for a horizontal peg wall. This feature is far more difficult than the salmon ladder!
I recommend putting peg holes close together. Moving horizontally on peg wall is far more difficult than going up or down a vertical wall. Once you’ve mastered going across the board putting each peg in every hole, then you can go on to skipping holes and traversing the board back and forth.
The climbing frame has given us many wonderful memories and a lot of fun.